Email Templates
📧 Email Template Builder
Section titled “📧 Email Template Builder”The Templates feature allows you to create reusable email structures for your students or leads. By using dynamic variables, you can personalize each message automatically.
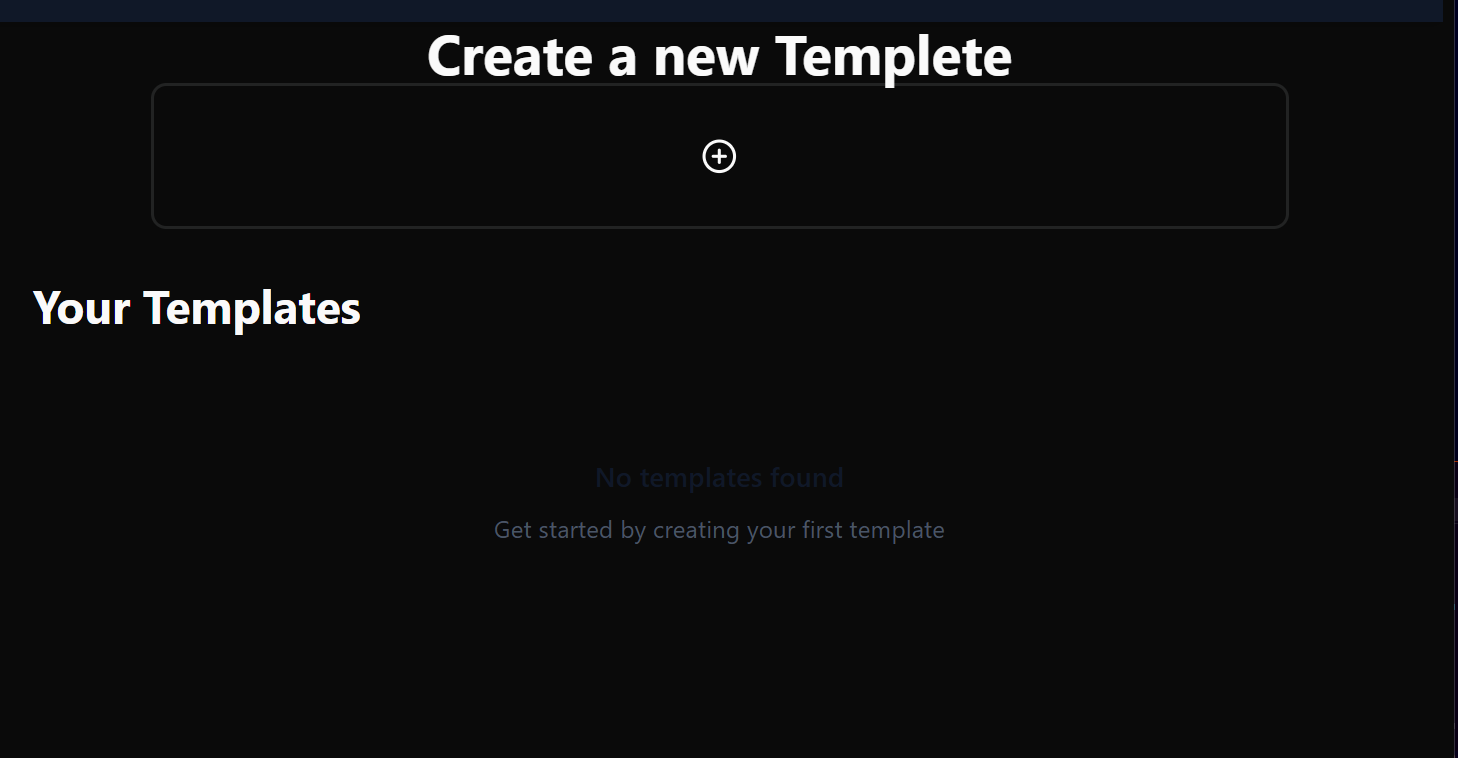
➕ Creating a New Template
Section titled “➕ Creating a New Template”- Navigate to the Templates section from the sidebar menu.
- Click on the ”+” icon in the “Create a new Template” section.
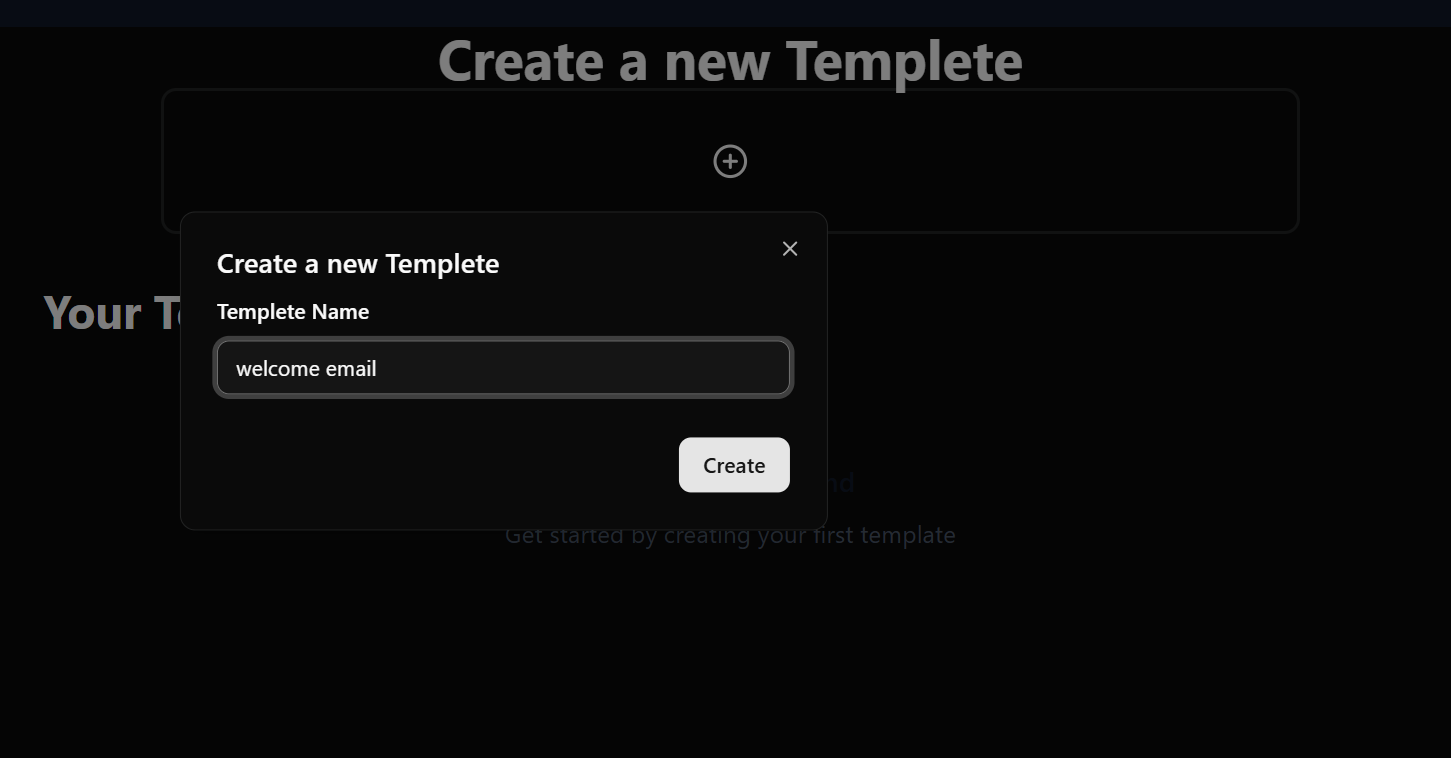
- In the popup modal, enter a descriptive Template Name (e.g., “Welcome Email”).
- Click Create.
✍️ Editing & Formatting
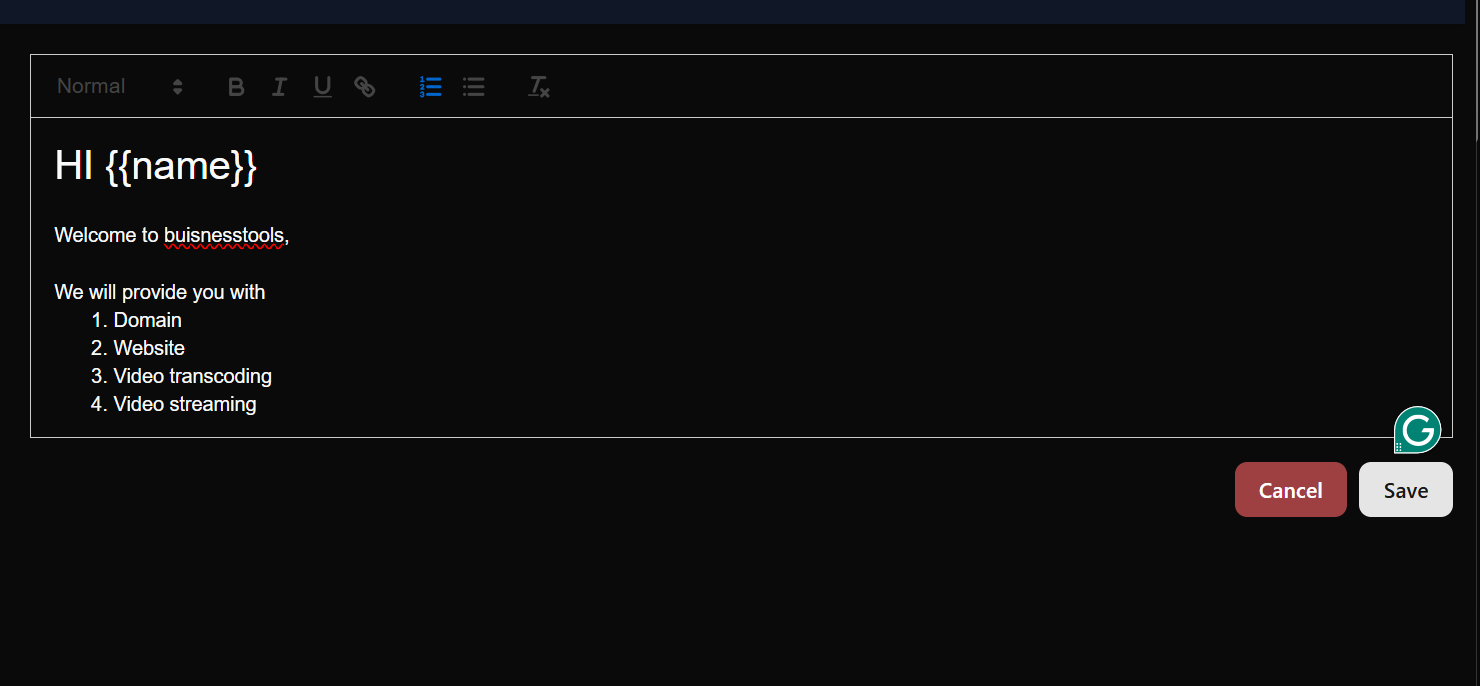
Section titled “✍️ Editing & Formatting”Once your template is created, you will enter the editor. Use the toolbar to style your message:
- Headings: Use the dropdown to select Heading 1, 2, or 3.
- Text Styling: Apply Bold, Italics, or Underlines.
- Lists: Organize information using bulleted or numbered lists.
🔀 Using Dynamic Variables
Section titled “🔀 Using Dynamic Variables”Variables allow you to send one template to 100 people while making each one feel personal.
Automatic Variables
Section titled “Automatic Variables”The system recognizes specific tags and pulls data directly from your student records:
{{name}}: This variable is automatically populated with the receiver’s first name.- Input:
Hi {{name}}, welcome! - Output:
Hi Sahil, welcome!
- Input:
Manual Variables
Section titled “Manual Variables”You can add other custom placeholders (e.g., {{date}} or {{link}}).
Note: Currently, variables other than
{{name}}must be filled in manually before sending the email.
💾 Saving Your Work
Section titled “💾 Saving Your Work”After you have finished writing and formatting:
- Review your content for any typos.
- Click the Save button in the top right corner of the editor.
- A notification “Template created successfully!” will appear, and your template will now be visible in your library.
🛠 Troubleshooting
Section titled “🛠 Troubleshooting”| Issue | Solution |
|---|---|
| Variable not working | Ensure there are no spaces inside the braces (e.g., use {{name}} not {{ name }}). |
| Formatting looks odd | Try highlighting the text and toggling the formatting buttons off and on to reset the HTML tags. |